ready-to-build configurations
All the parts you need are included in these configurations.
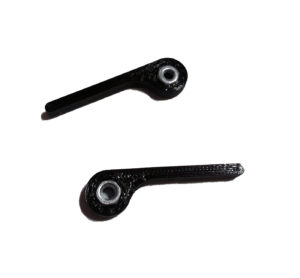
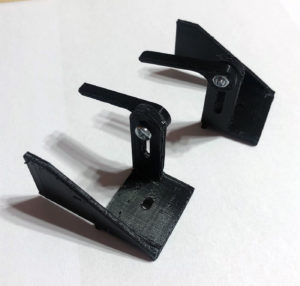
Individual parts
Simply assemble your desired configuration yourself. The combination possibilities are almost limitless. Your only limit is the rack width.
All the parts you need are included in these configurations.
Simply assemble your desired configuration yourself. The combination possibilities are almost limitless. Your only limit is the rack width.
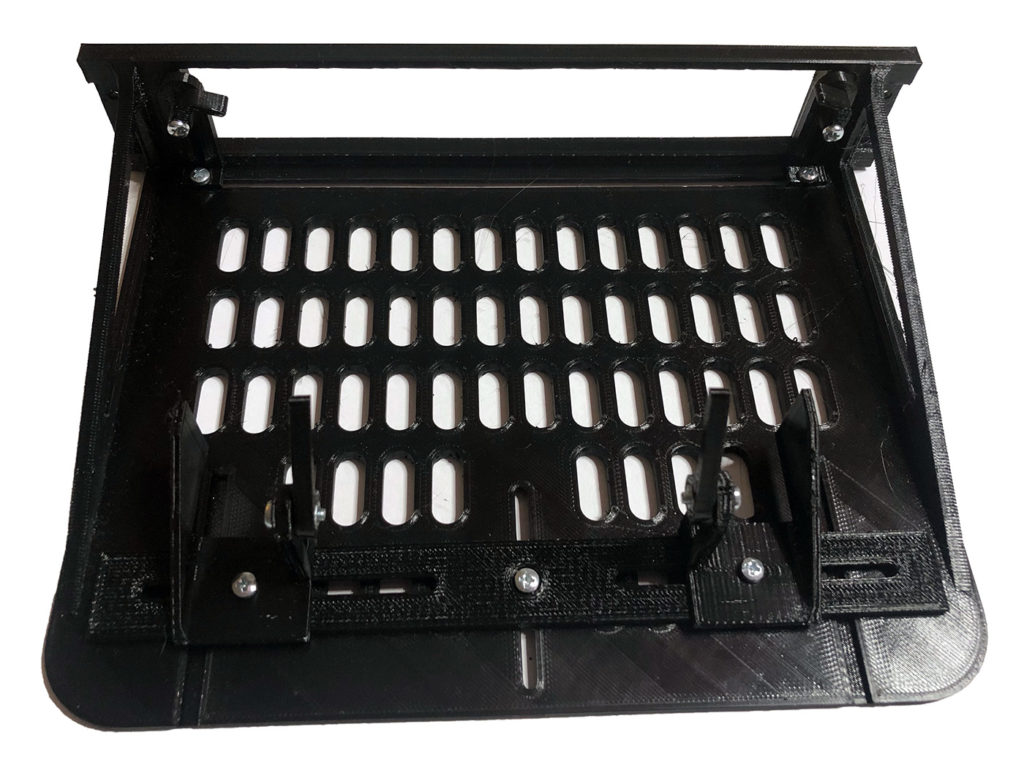
Quick guide to setting up the universal mount
4x M3x10, 5x M3x6 and 9x M3 nuts are required
Insert 2x M3 nuts into the holders
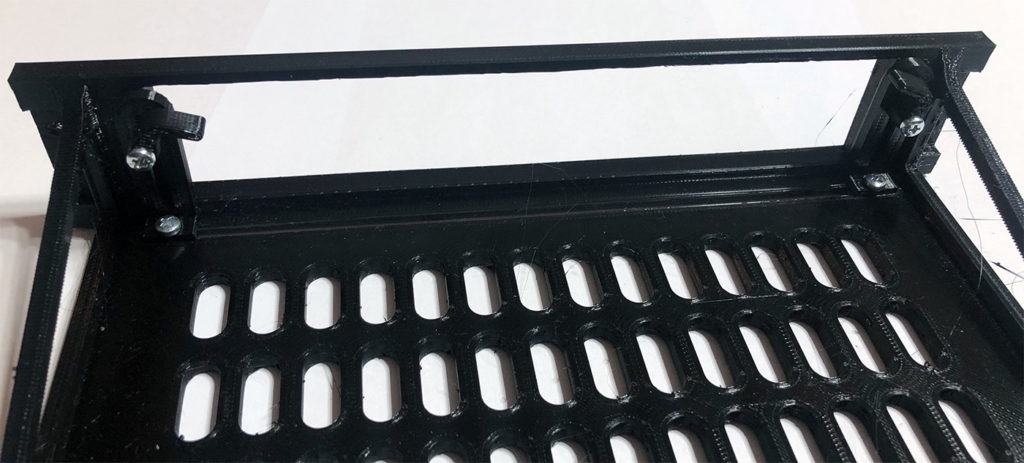
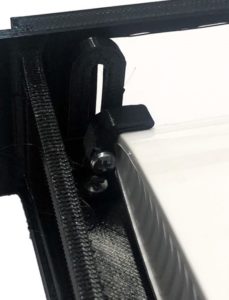
Connect each holder to the variable slide using an M3x10mm screw (longer screw).
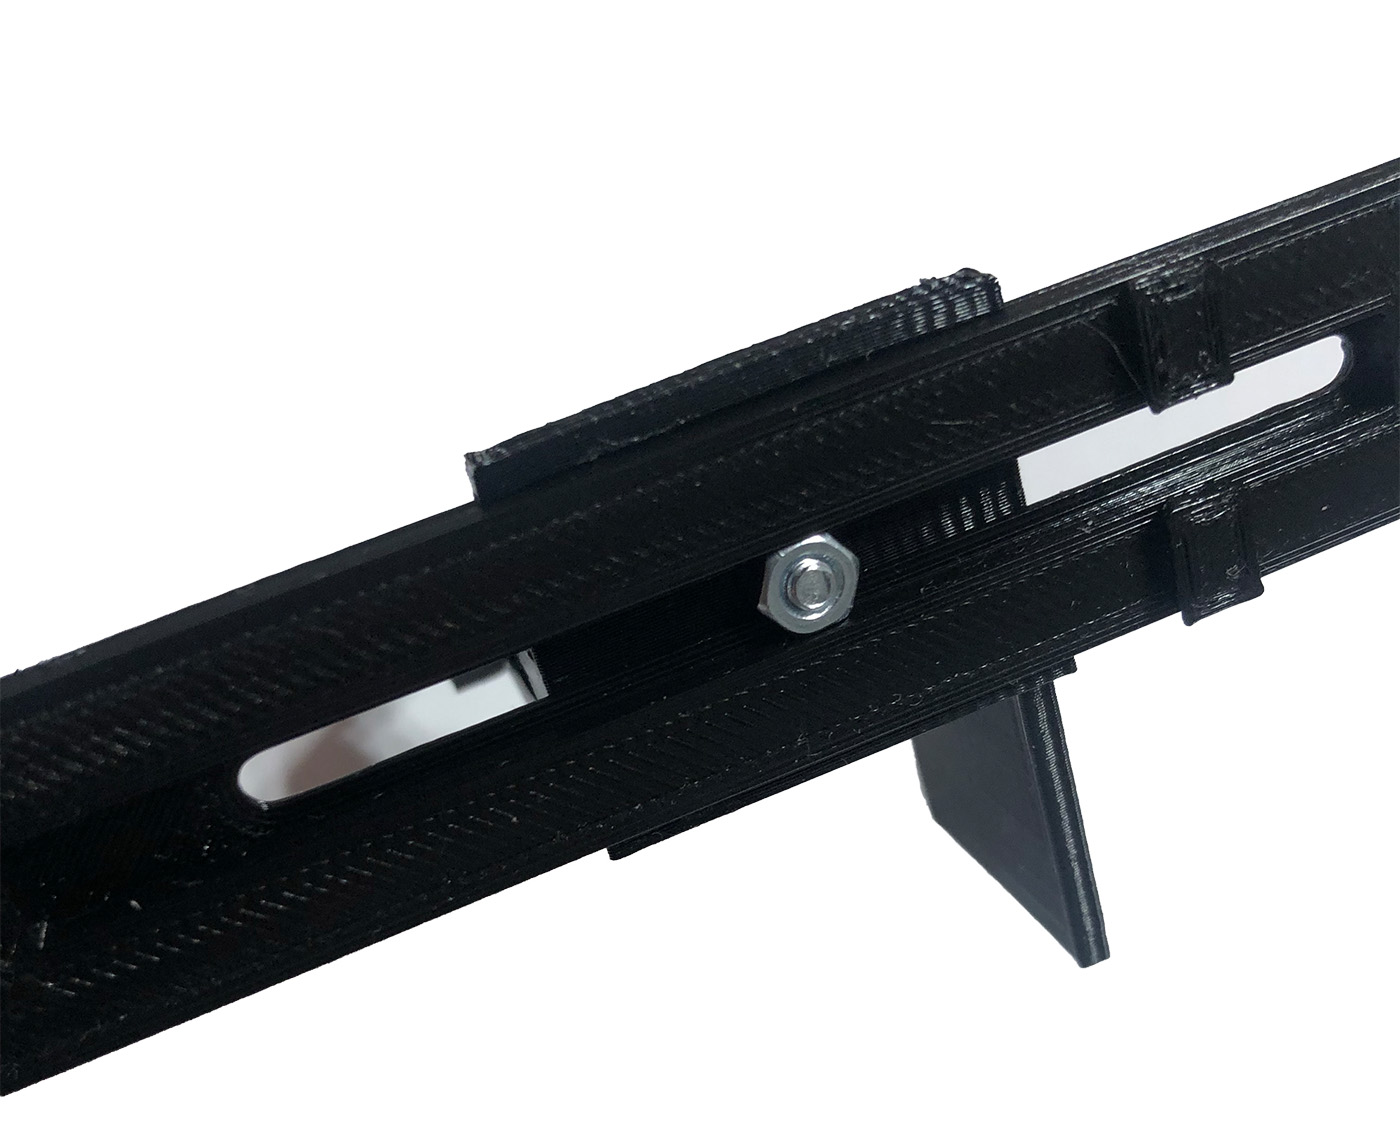
Use an M3x6mm bolt (shorter bolt) and an M3 nut to mount the pre-assembled side slide on the rear mounting slide
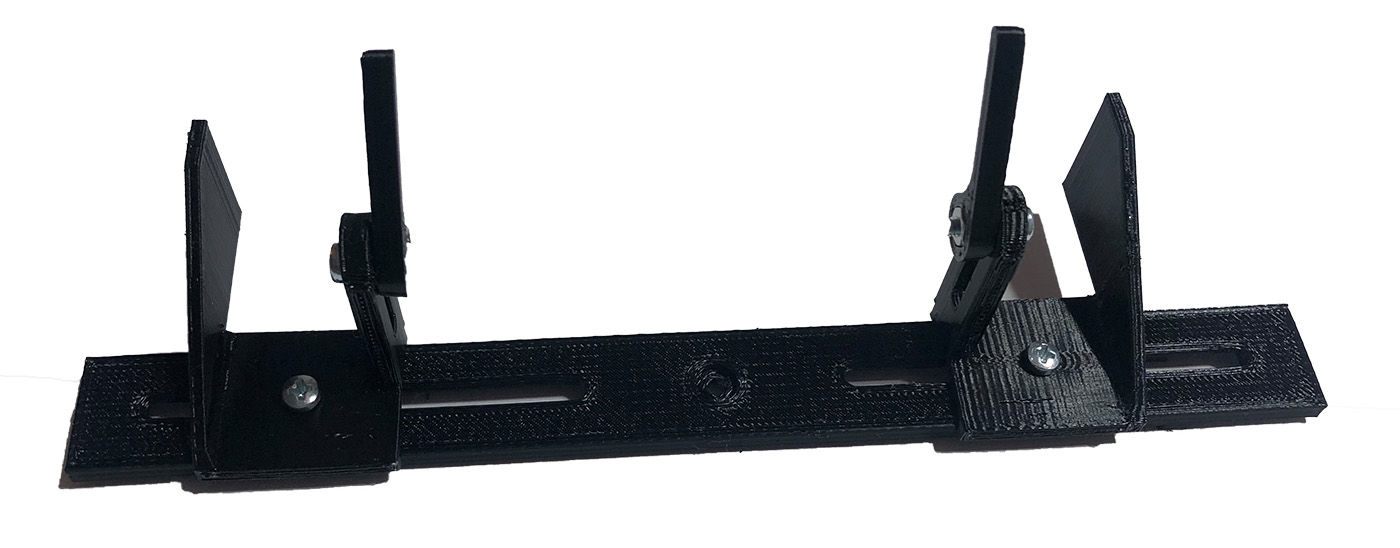
Use an M3x10mm bolt (longer bolt) and an M3 nut to mount the small holder on the carriage.

Mount the carriage with an M3x6mm bolt (smaller bolt) and an M3 nut.
Slide the rear carriage into the guideway and secure with an M3x6mm screw (smaller screw) and an M3 nut
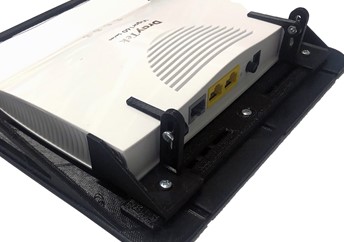
Adjust the stop forwards using the front movable slides. Use the small holders to secure the device at the top.
First fix the appliance to the rear using the rear slide. Then use the side sliders to fix the appliance to the left and right. Finally, use the longer levers to fix the appliance at the top.
No account yet?
Create an Account


