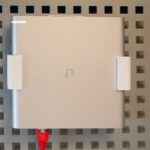
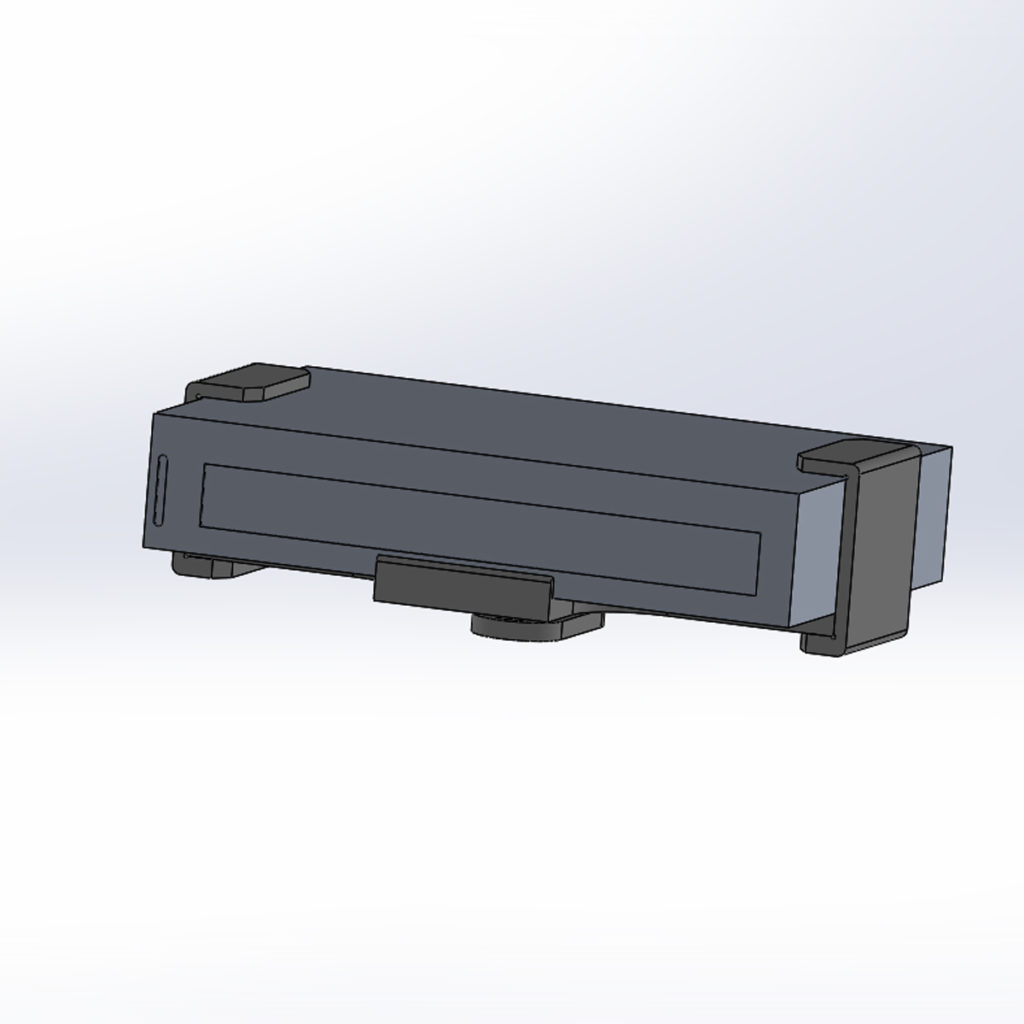
ready-to-build configurations
All the parts you need are included in these configurations.
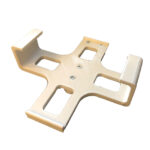
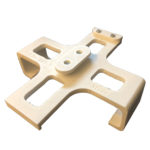
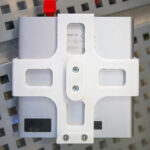
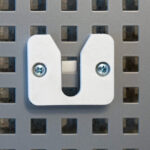
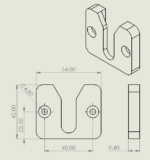
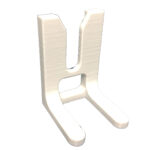
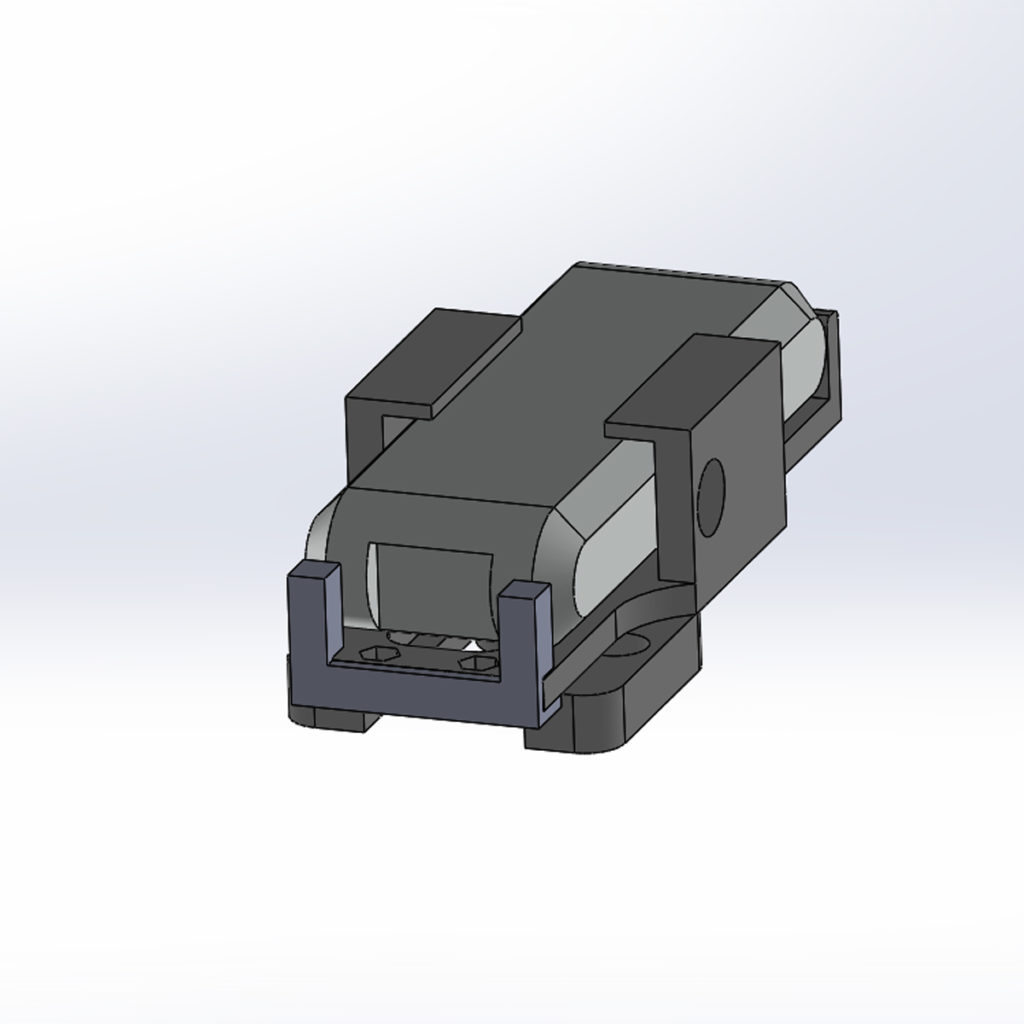
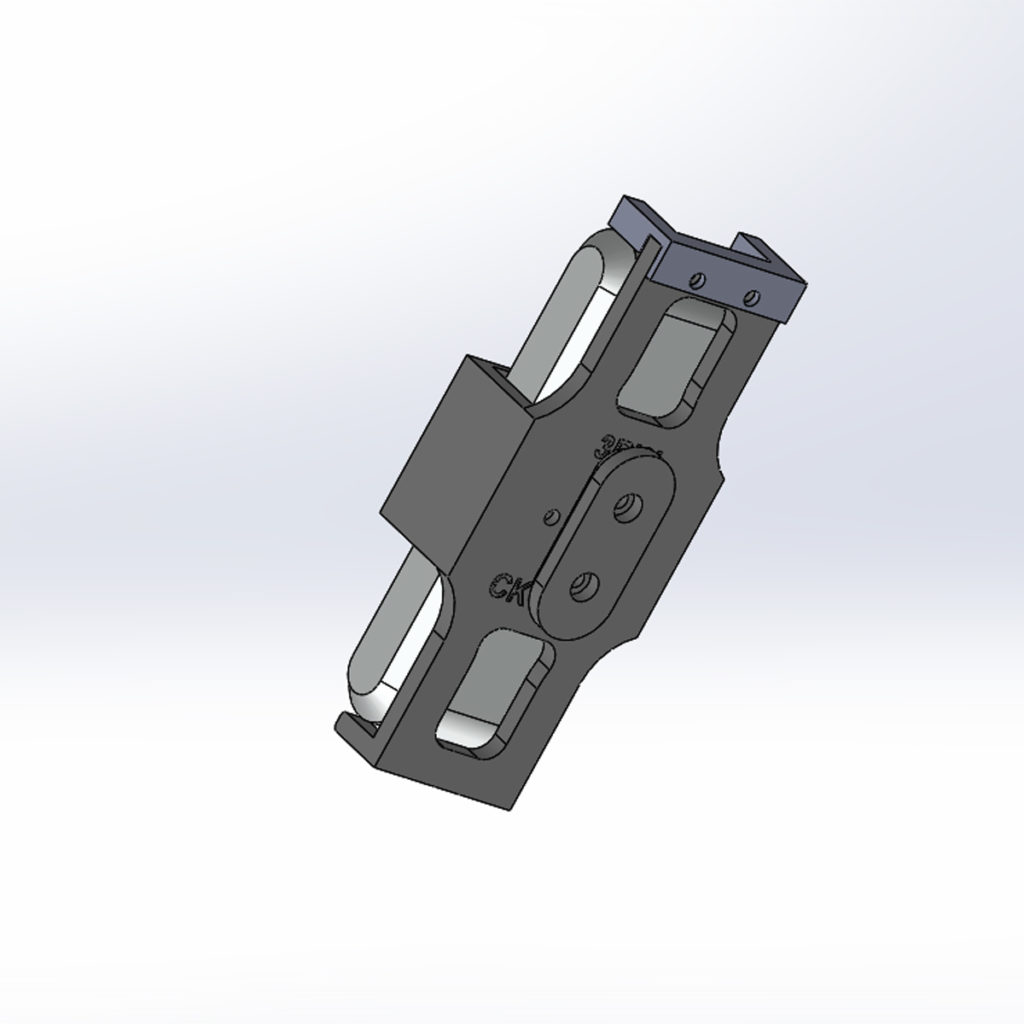
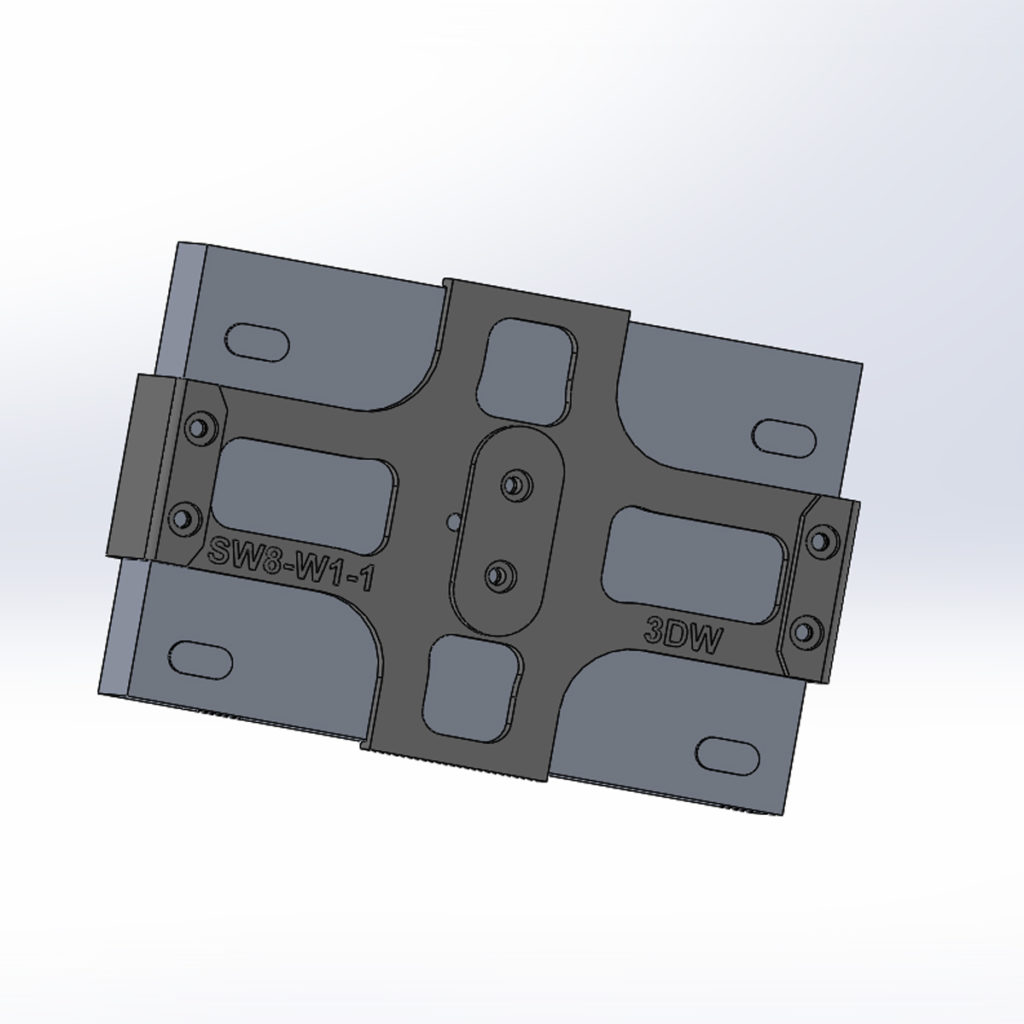
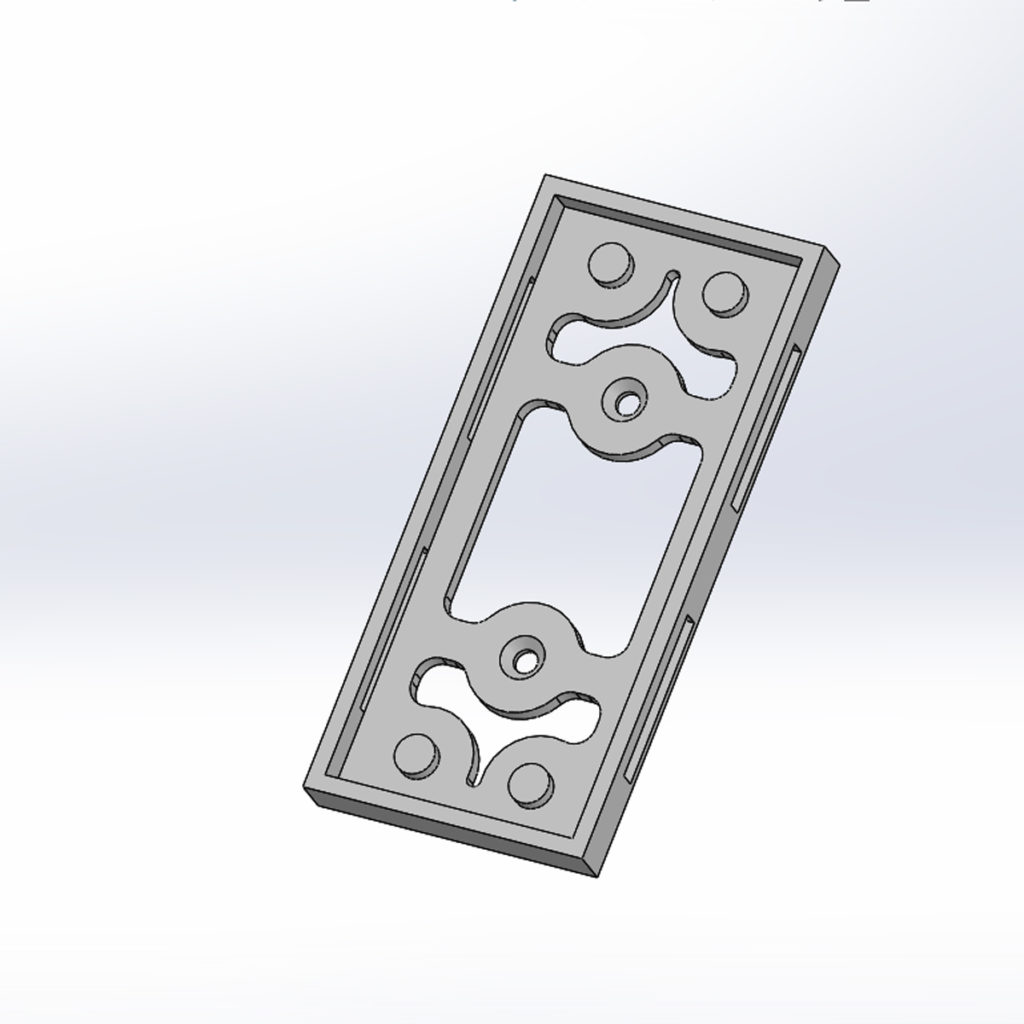
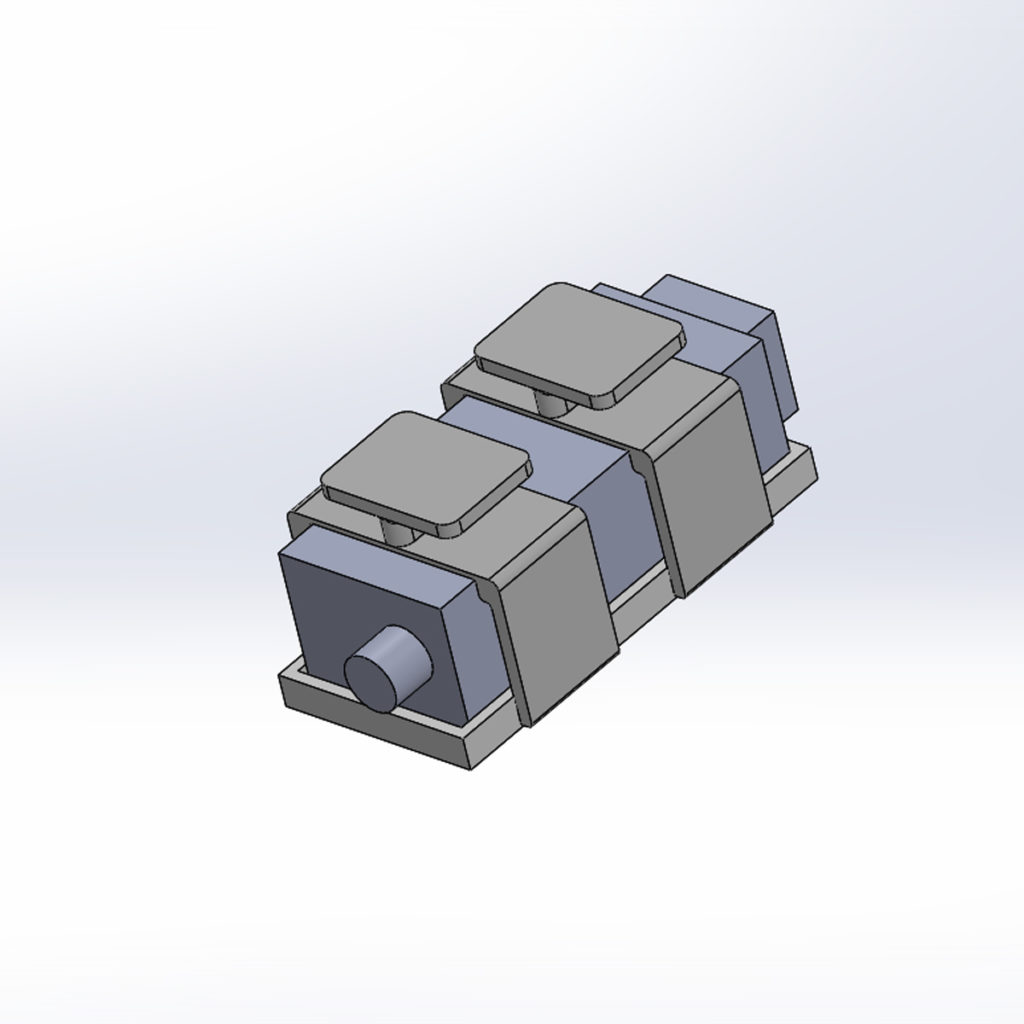
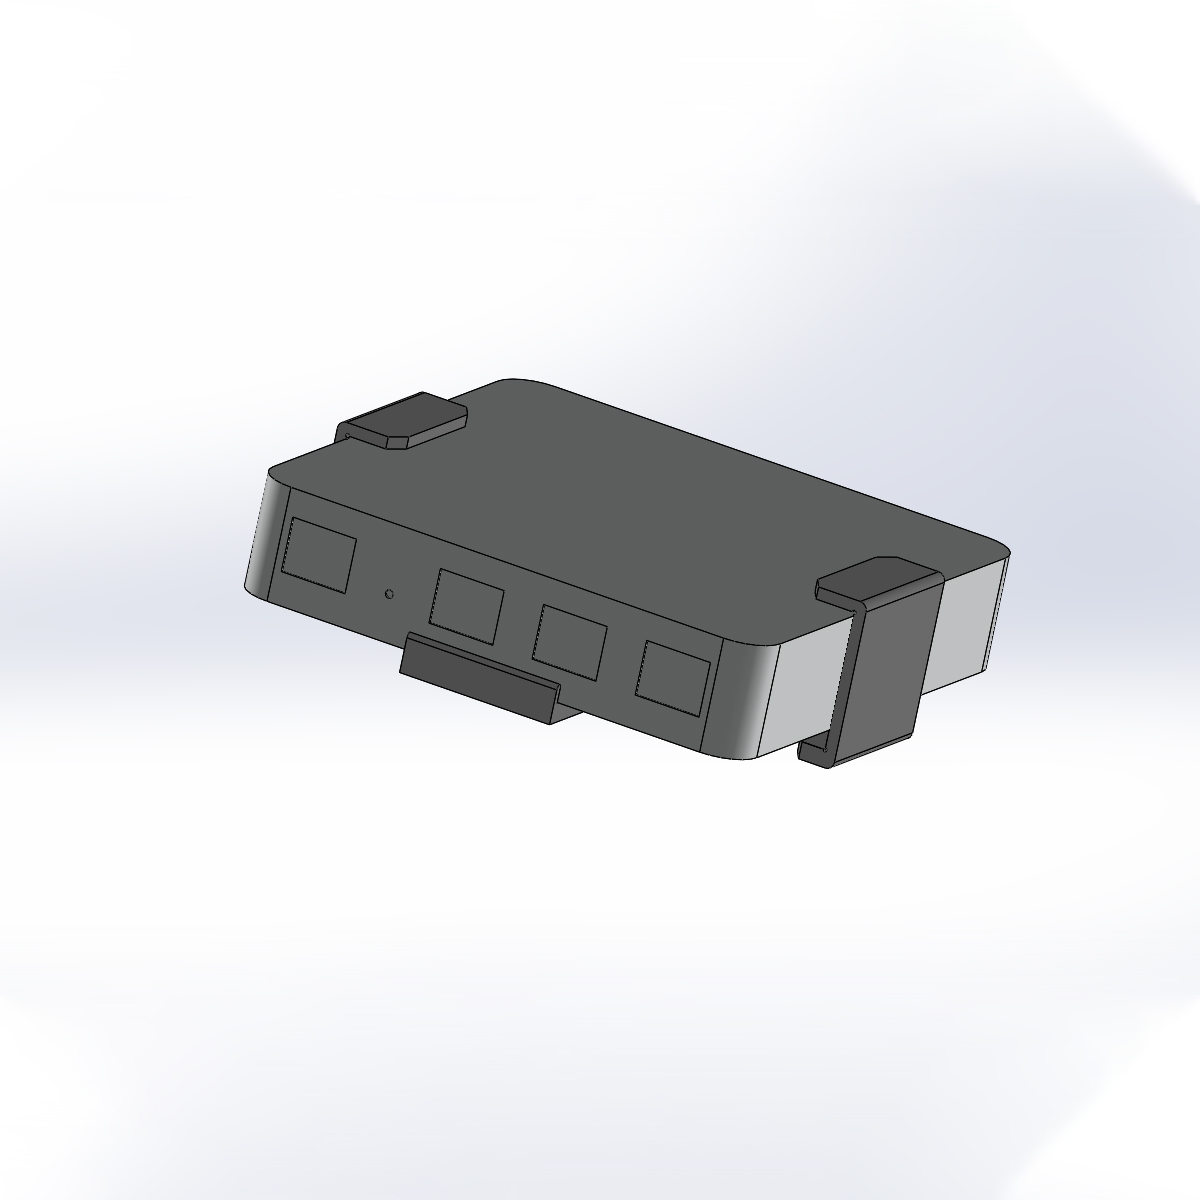
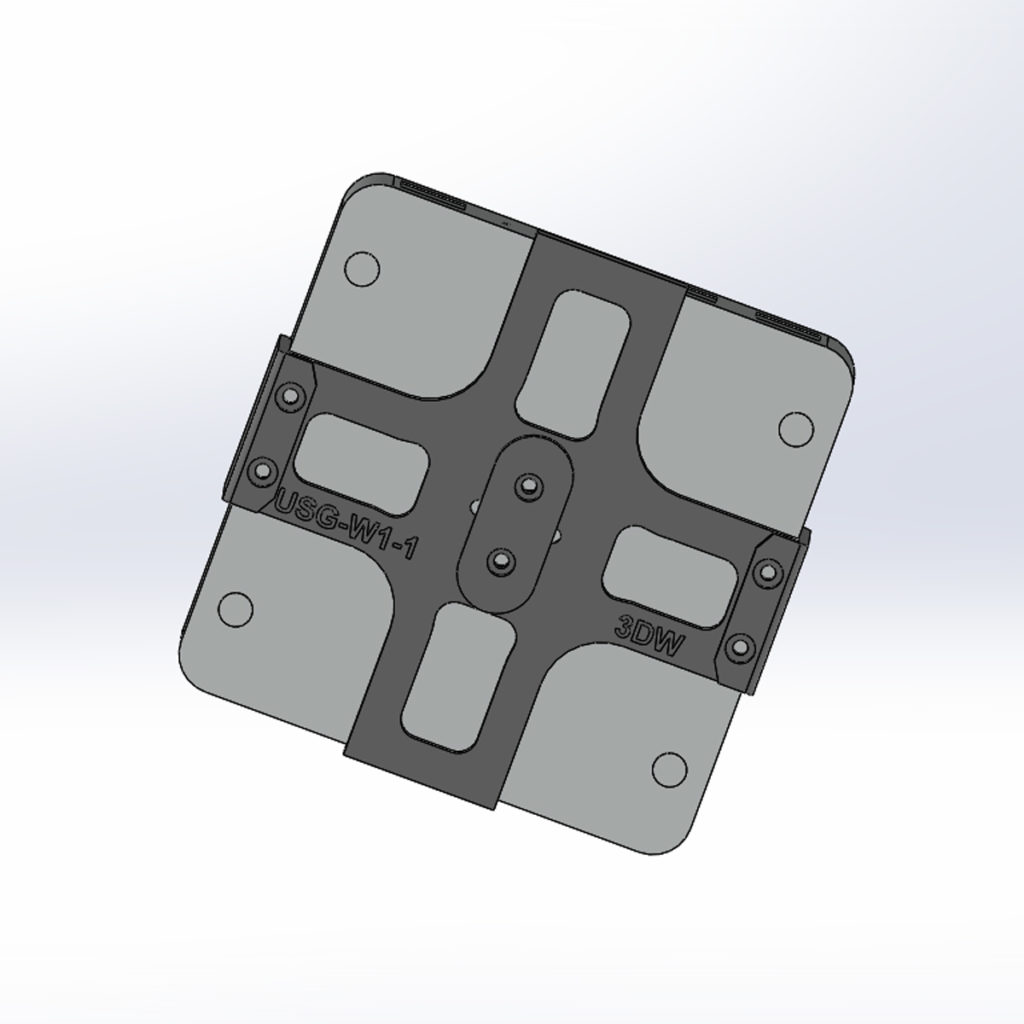
Individual parts
Simply assemble your desired configuration yourself. The combination possibilities are almost limitless. Your only limit is the rack width.


incl. VAT
incl. VAT
incl. VAT
No account yet?
Create an Account

Reviews
There are no reviews yet.